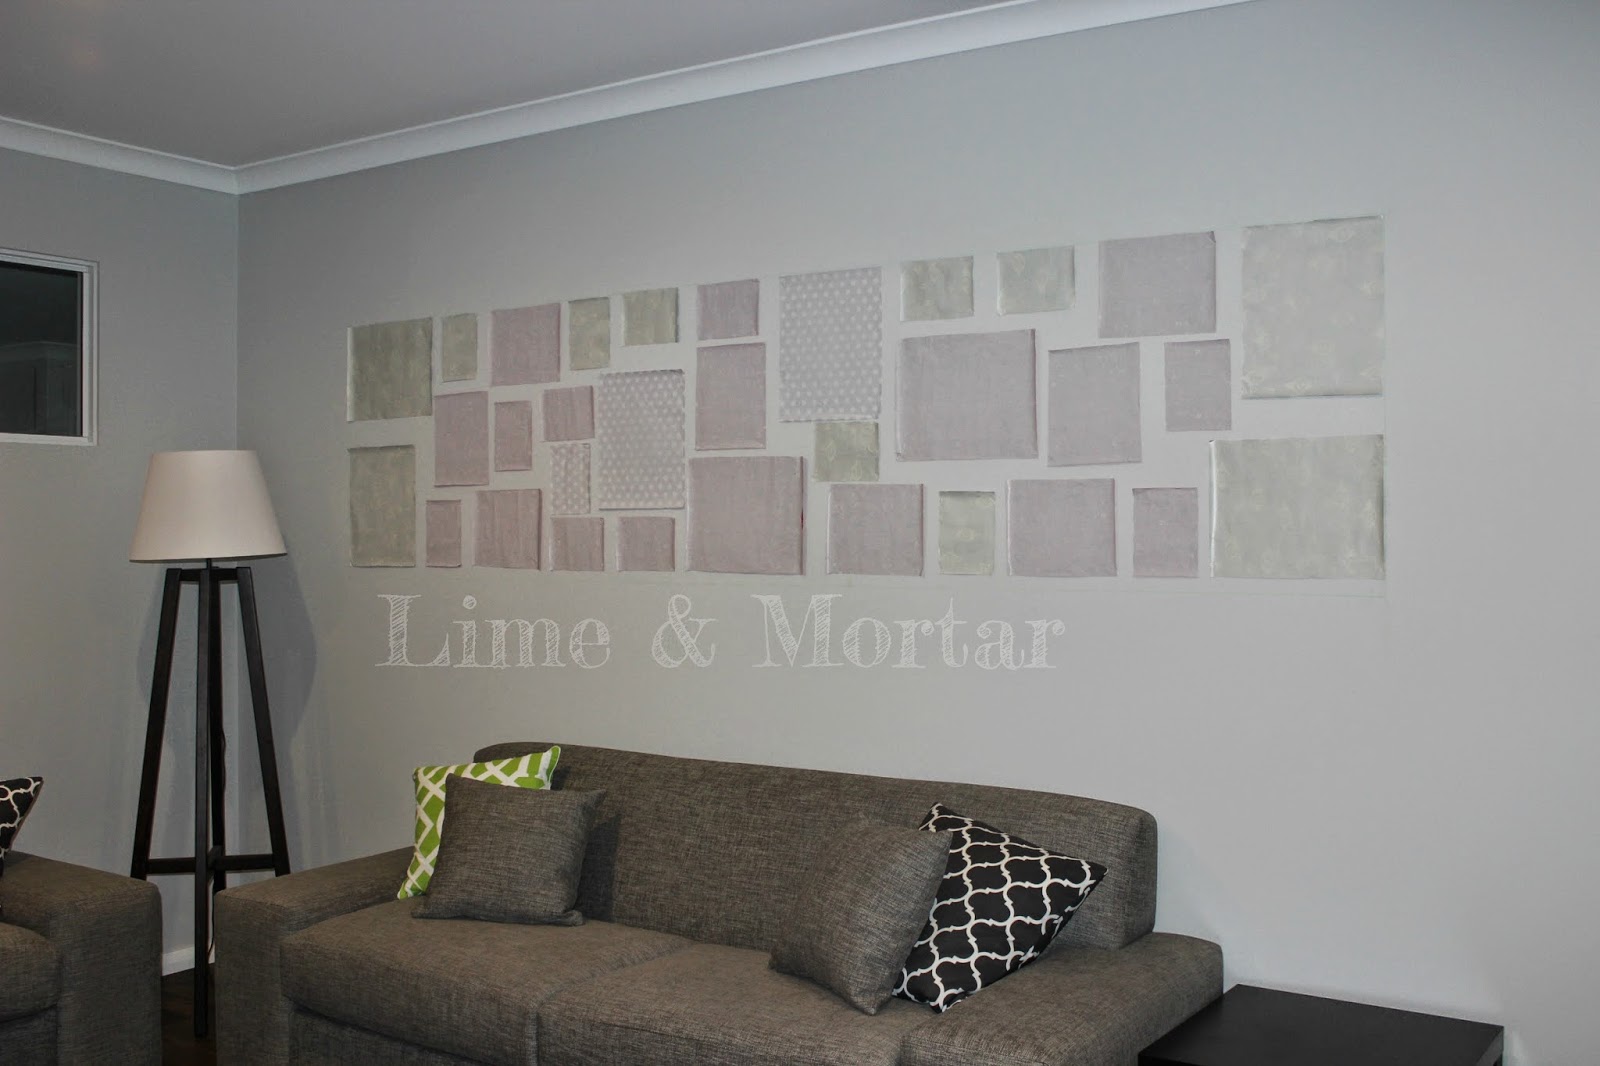
Rectangle Photo Wall:
1) Using newspaper or old wrapping paper cut all your frame sizes out.
2) Measure your wall and work out a rough size for your rectangle (the size may change as you do the layout).
3) Mark your rectangle on the ground with masking or painting tape (or you can just place items in each corner if you don't have any tape spare).
4) Start laying out your paper templates on the ground. Take photos of your layouts, looking at them on camera you'll spot what needs to change, or you can go through them to see which layout you like best.
5) Once you have decided on a layout measure around the edges to get your rectangle size.
6) Using chalk and a level draw your rectangle on the wall where you'd like the frames to be.
7) Blue tac all your paper frames in your desired layout on the wall.
8) Put all your photos into the frames
9) Now one by one remove a paper template and replace with the matching frame. I balanced a level on top of the frame as hubby was not home. If you have helping hands get them to hold the level for you to ensure the frame is straight. I used 3m velcro strips which allows you to remove easily if you need to adjust.
Random Photo Wall:
1) Using newspaper or old wrapping paper cut all your frame sizes out.
2) Measure your wall to see what space you are working with
3) Start laying out your paper templates on the ground. Take photos of your layouts, looking at them on camera you'll spot what needs to change, or you can go through them to see which layout you like best.
4) Once you have decided on a layout find the middle of your design and mark it on the paper template.
5) Next mark a spot in the middle of your wall - 2/3rds up from the ground. EG. If the wall height is 240cm then place the middle of your layout at 160cm from the ground.
6) Match the mark on the wall with the mark on the paper template.
7) Blue tac all your paper frames in your desired layout on the wall
8) Put all your photos into the frames
9) Now one by one remove a paper template and replace with the matching frame. I balanced a level on top of the frame as hubby was not home. If you have helping hands get them to hold the level for you to ensure the frame is straight. I used 3m Velcro strips so this allows you to remove easily if you need to adjust.


5 comments:
Nice tuto. Simple and clear. Thanks
Quick question, how do you find the Velcro strips? Have they ever fallen off the wall?? The wall I want to use is 1.2m wide with a door on either side so am not sure if continually opening and closing doors would cause the frames to fall off. Your instructions have been really easy to follow so thanks for posting :)
I haven't had any problems with the Velcro strips. I used them all over my house :)
I recently discovered VibeCrafts, and their wall photo frames online are just stunning! Each frame has a unique design and premium finish that instantly brightens up any space. Perfect for those looking to buy wall photo frames online in India to add warmth and personality to their décor.
Loved your blog on wall photo frames! Your layout and styling ideas are creative and practical. For high-quality, stylish, and beautifully designed photo frames that showcase memories elegantly, VibeCrafts offers an excellent collection to enhance wall décor.
Post a Comment